Sunday, March 19, 2017

AGE APPROPRIATE REINFORCERS FOR THE OLDER LEARNERS WITH SPECIAL NEEDS

REINFORCER FUN


Does anyone else find it challenging to find age appropriate reinforcer options for older learners with special needs?

So often our students are interested in activities, movies, and characters that are targeted to young children. Although there are exceptions, I am constantly looking to move my students to more age appropriate interests.

With help from many other amazing teachers, I have slowly built a rather large reinforcer pool in my Middle School Self-contained Classroom. I am officially a hoarder when it comes to any and all things that may function as a reinforcer for someone (there are always new students and new interests).


Storage can be tricky, but I am a firm believer in storing reinforcers in a way that is accessbile to my students. I expect my students to access their own reinforcers (obviously with assistance if they are still learning)...so I think of this when organizing and labeling everything.


Here is more information on our favorite class reinforcers and how we store them:

SENSORY ITEMS
I store my sensory items mostly in these 4 white bins (Dollar Tree). They are separated by
1) Tactile sensory --> vibrating massager, textured fabrics, squishy/spiky/sticky balls, putty
2) Visual sensory --> light toys, lava lamps
3) Sensory Bottles, and
4) Shaving Cream (a class favorite).
Sensory Bags, Magic Foam, Water Beads, and Kinetic Sand are on the shelf above in larger or airtight containers. I make alot of my own sensory bottles and bags. They don't last forever, but its pretty inexpensive and easy to customize to student interests.

Check out my pinterest board for some great ideas on home made sensory items


ARTS AND CRAFTS
I love having a ton of different art materials for creative students. I store (most) art material on the bottom shelf of one of my bookshelves (underneath the sensory items). It is separated by type and labeled. 
This includes 1) paint, 2) crayons, 3) markers, 4) scratch off paper, 5) "fun" scissors, 6) colored construction paper...and other miscellaneous items I accumulate. 

PUZZLES
Can you ever have enough puzzles? Over the years my students have varied greatly when it comes to puzzle skill level. I also find that many puzzles get ripped or have lost pieces by the end of the year... so I am constantly buying new ones. 
We have a ton of 12 piece, 24 piece, 60 piece, and 100 piece jigsaw puzzles. We also have several 24-48 piece jigsaw puzzles inside the wood border (Some have the background picture on the bottom for easier reference). 

I store most of the cheaper puzzles in ziploc baggies (as their boxes often rip the easiest). Everything is organized in a bin to corral pieces and visually help my students put things away neatly. 


MULTI-PLAYER GAMES
This is a particularly difficult item because the skill level of my students does not typically match games targeted for their age level. I love to have a variety so students can complete cooperative schedules or play with peer mentors. 
Some of our favorites are:

               Zingo                                          

Perfection

Qwirkle
Image result for qwirkle

UNO

Image result for uno

Velcro Gloves


Bananagrams
I just bought this one and can't wait to use it to practice phonics with my students who are still learning these skills. There are a few games in the series-- Banagrams, Pairs in Pears, and Apple Letters. They are inexpensive and super small/easy to store.
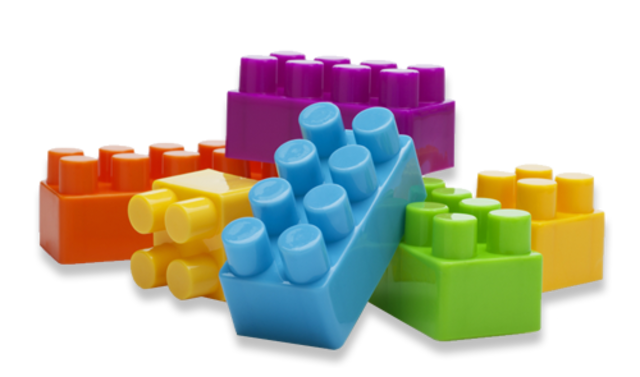
Image result for bananagrams


STEM ACTIVITIES

Magnet Blocks

Legos 
(I have a ton of the small legos from Target Dollar Spot)
Image result for legos

Marble Run

Playdough


OTHER MISCELLANEOUS TOYS/ACTIVITIES

Over the Door Basketball Net

Hex Bugs 
These are vibrating bugs that move around. 
You can buy or make tunnels, roads, and doorways for them to navigate through. 
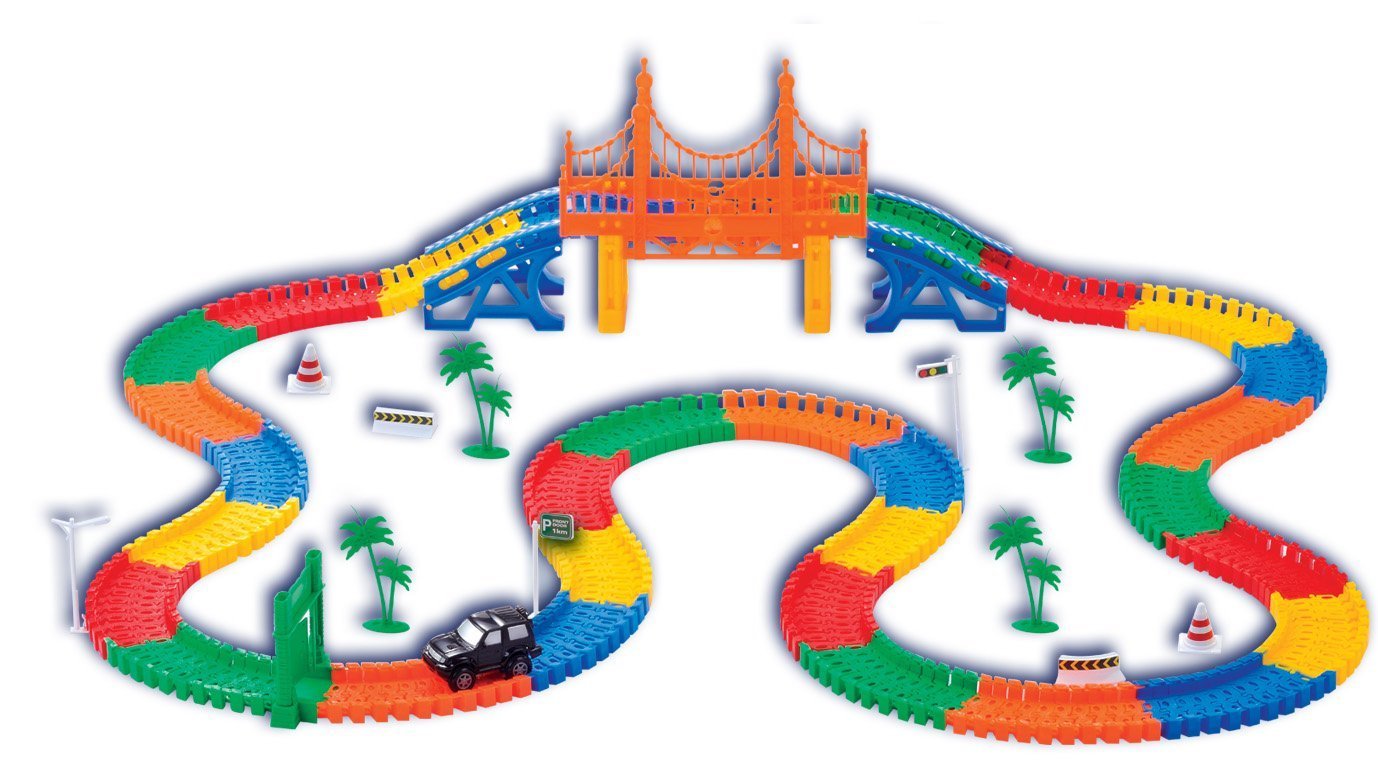

NeoTracks
This is an ABSOLUTE HIT in my classroom and an age appropriate way to play with cars/tracks. 
It does glow in the dark, although we haven't enjoyed that feature yet. The car is motorized...but I bought some extra cheaper cars so multiple students can play at once. It has been great for communication!
It was super inexpensive (I always see these at Target or at the kiosks in our mall)
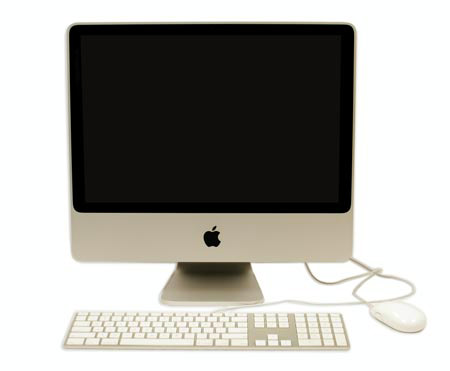
Image result for neo tracks


Computer
Image result for computer

iPad
Age Appropriate APPS is a whole post in of iteself--
follow my blog to see when a new post comes out on this topic!
Image result for ipad


Keyboard
Image result for music keyboard

What other reinforcers do you use in your middle school or high school special education classrooms?

Remember to follow me via email to stay updated on new blog posts. 


Thursday, February 9, 2017

HOW TO USE GOOGLE FORMS FOR DAILY COMMUNICATION


Quick Disclaimer: I was not the smart person who initially discovered how awesome Google Forms could be for our learners... credit belongs to an Occupational Therapist that works with students in my classroom. I was so excited about this idea that I couldn't help but share with others. 

Google forms initially was an idea we discovered could help some of our students who had trouble handwriting, required some added prompts, and may be taking too long to complete the chain of logging into an email account and copying a daily journal.

Since I teach Middle School students, I am always thinking towards the future. Although I believe my students can learn the skills they need, some may never perform the skills at a quick enough speed to use them functionally in their life. I try to find ways to help my students acquire and perform useful skills quicker....so they can be useful in their future. I also am always looking for ways to help students complete these chains INDEPENDENTLY. They work hard...and it pays off!

SO...here is my STEP BY STEP guide to setting up a GOOGLE FORM as a DAILY COMMUNICATION SHEET BETWEEN SCHOOL AND HOME.

Step 1: Log into your Google Account. If you don't have one, it is pretty easy, and FREE, to set up.

Step 2: Once logged into --> click on the Google Apps "waffle" icon in the top right corner.

Step 3: Access your Google Drive from the drop down menu

Step 4: Click on NEW (button on top of left tool bar)
Step 5: Click on FORMS from the drop down menu (you may need to first hit "more" to see all the options)

Step 6: Title your Form-- I like to use the name of the student for easy finding in the future

Here is where customization comes into play.... before going on consider what you want your student to see in his/her journal. I will show you some examples of what you can do...but use what is appropriate for your student. I suggest starting simpler and building up to more complex questions. 

Step 7: Title Question #1

Step 8: Choose the type of response. Choices include: short answer, paragraph, multiple choice, check boxes, drop down, linear scale, multiple choice grid, date, and time.
The example I show in Step 7 is MULTIPLE CHOICE.


Step 9: If you chose multiple choice or check boxes....add your possible responses. Add as many or few as possible. If you want forced choice--- only list one possible answer.


Step 10: Add visuals!
Hover your arrow over the question or the answers. Click the symbol to the right of the question/answer to add a visual to that section. Choose your visual and press SAVE. You should now see your chosen visual. Hooray!
Visuals added to the question title will be larger than the ones added to the answer sections.
TIP: Use the same visuals that your students have on journals prompts they may have be their desk to keep things consistent and clear. 


Step 11: Locate the "REQUIRED" button on the bottom right of the question. Slide this button ON to ensure students cannot skip this section.


Step 12: Press the + button on the right column bar to Add a Question

REPEAT STEPS 7-11 for as many question as you need.
Some of my students are only answering ONE question right now, as they learn to navigate the system. They may be copying from a journal we set up by their desk, as they cannot yet recall. Others can answer several questions, and may be recalling responses from memory.

Here are some of the questions I like to add:

Today's Date: 


Time:


In school I _______:
(I use the checkbox response type for this question- students can check ALL of the options that are correct for that day. Students either recall independently or copy from a visual journal when responding).


For lunch I ate _______:
(I use the SHORT ANSWER response type for this question- students either recall independently or copy from a visual journal when responding).
 

Signature:


Step 13: Once you are completed with your questions you can PREVIEW to make sure everything looks the way you want. Hit the PREVIEW button in the top right corner.

Step 14: Send the form to your student
 

Your student can access the spreadsheet through his email. He can now start logging responses!

To see the responses follow the next set of directions below:

Step 15: Click on RESPONSES
 

Step 16: Click on the 3 vertical dots to see the drop down menu


Step 17: Click "SELECT RESPONSE DESTINATION"

Step 18: Click to "CREATE NEW SPREADSHEET"

Step 19: TITLE SPREADSHEET with students name

Step 20: Click "CREATE"

Step 21: To access the spreadsheet that you just created --> Click on RESPONSES and Click on the green button to "view responses in sheets"
 

All of the questions and answers will show up in this spreadsheet once they are entered each day.

Step 22: SHARE the response sheet with your student's parents. They can add the spreadsheet to their Google Drive and access this whenever they want. It also would be a great tool for students to use at home (and share with you to check each morning).


VOILA!

Once you get this setup, it is SO EASY to manage each day and provides ongoing daily communication between school and home.